SAMPLE RECORDING AND
SPARE PARTS MANUFACTURING
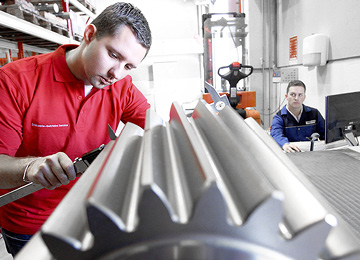
During our sample recording process we inspect complex gear components of every kind and record their exact geometry. We can then manufacture spare parts for non-Eisenbeiss gear units to meet the high Eisenbeiss quality standards, without the original drawings.
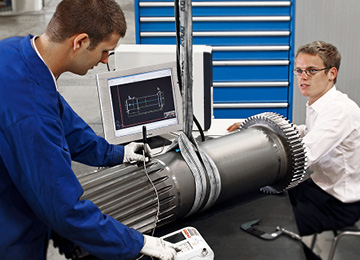
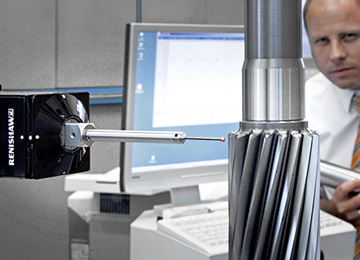
The gearing is mapped using the latest 4-axis measurement machinery. We also determine the hardness of the components (Rockwell, Vickers or Brinell units) and compile report forms as part of the sample recording process. Gear casings and add-on components are measured using our FARO measuring arm. We then create 3D files and design drawings for the components from the data recorded.
We already own component data for many standard non-Eisenbeiss makes so that we can manufacture spare parts without delay.

Measuring a pinion shaft

Hardness testing to Rockwell, Vickers or Brinell

Measuring the teeth geometry on a pinion shaft

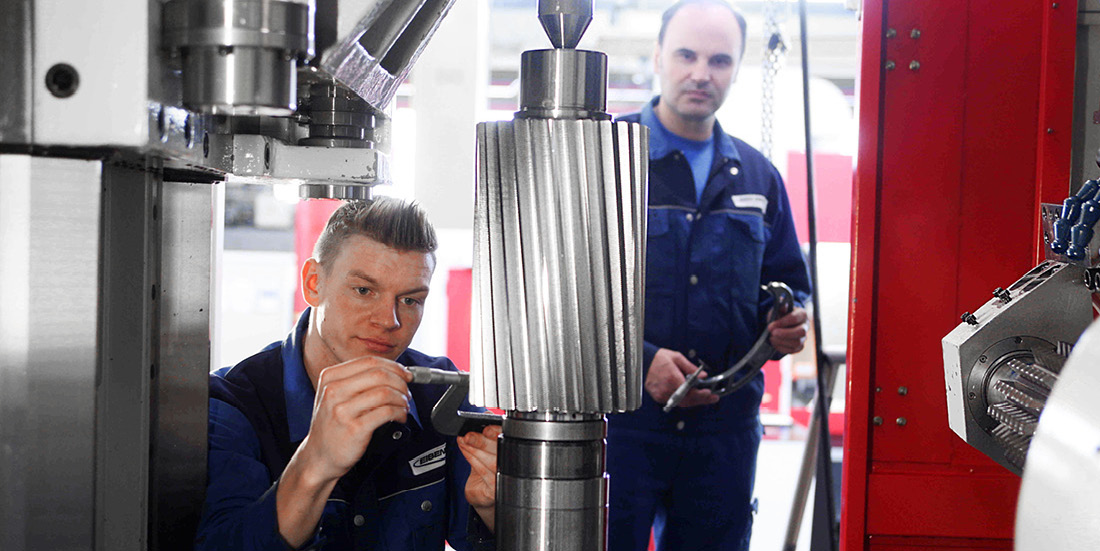
Component manufacturing in the modern Eisenbeiss workshop: cutting gears using a hobbing process
Service & Repair Categories:
